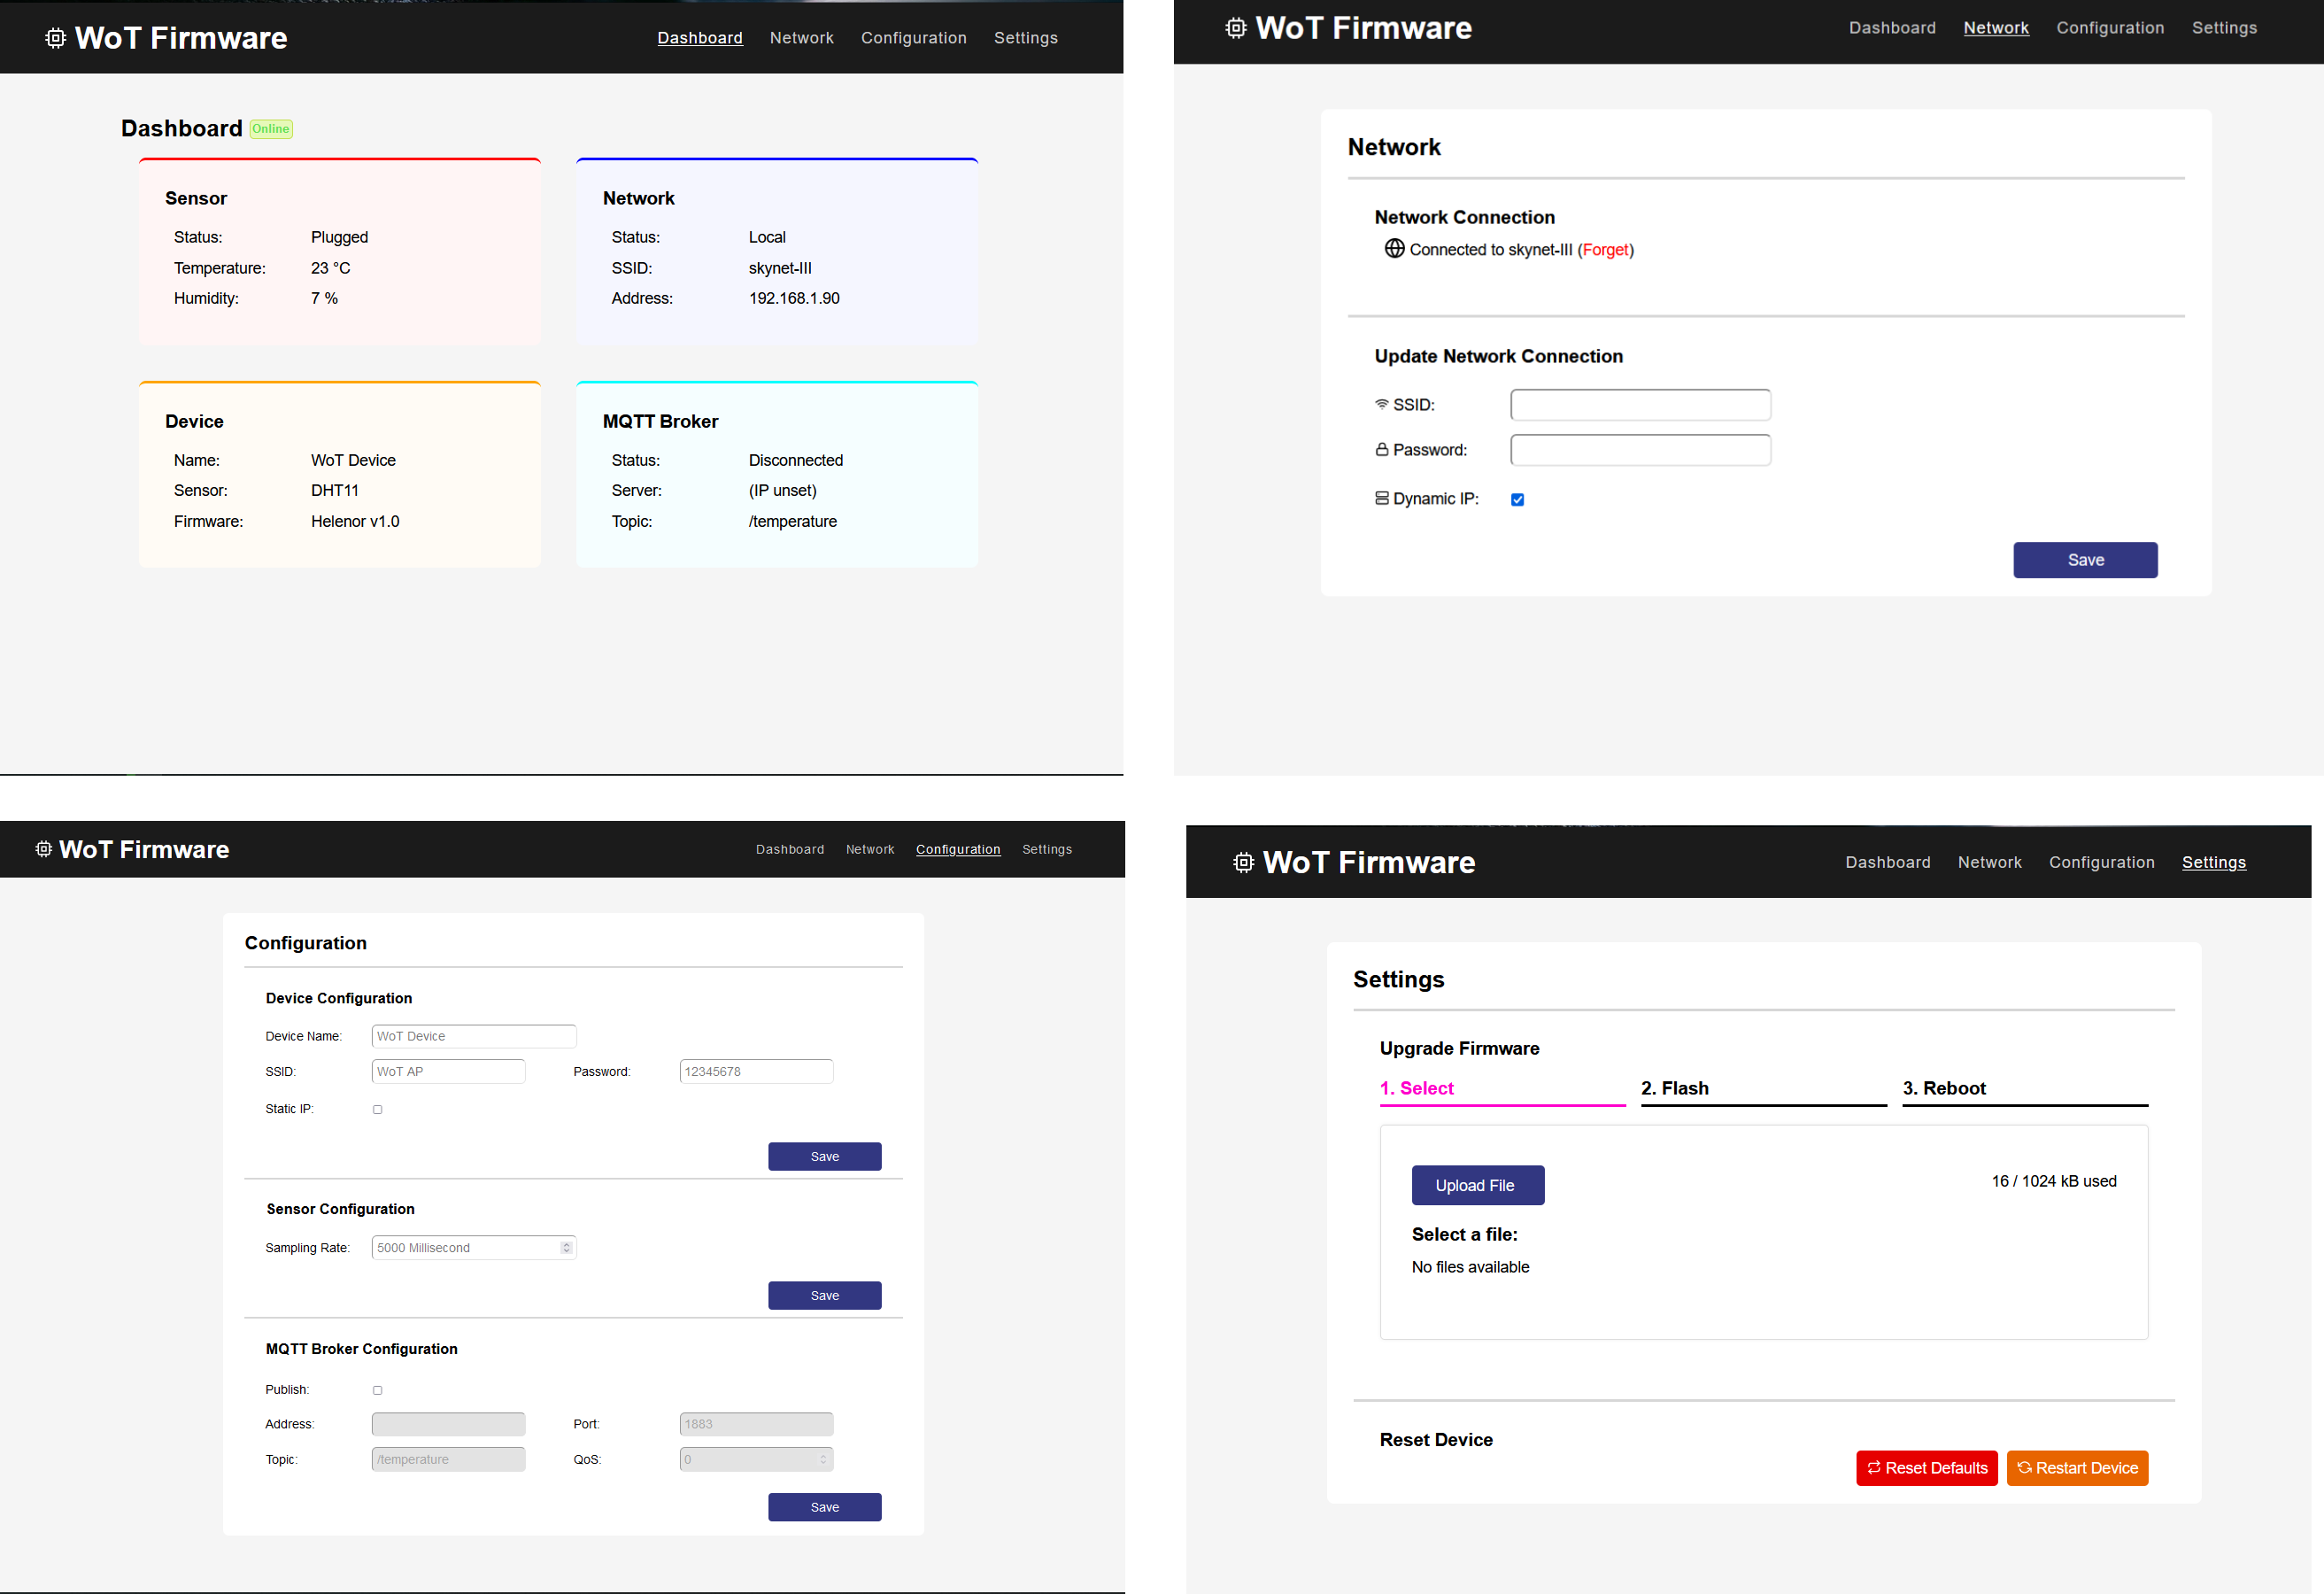
WoT firmware project is implemented as a starting point for using WoT-based devices in real IoT projects. This firmware is providing some basic IoT functionalities such as HTTP web server, MQTT-based event publisher, DHT11 sensor management, interactive web interface, network manager, configuration manager, live dashboard and Over-The-Air updates. Also, the UI implementation of this firmware is attached to this repository to help developers to customize or modify for their projects.
- PlatformIO, to develop and deploy firmware on ESP8266. It is recommended to install PlatformIO as a extensions on VSCode. Read more about installing PlatformIO here.
Now, you can clone this repository and begin to setup your hardware and software.
Follow this instruction according schematic image to setup the hardware.
-
Connect 5v Vcc and GND pins of Wemos D1 to breadboard power rails according to Wemos D1 pinout
-
Connect GPIO 5 of D1 to data pin (pin 2) DHT11.
Notice: Do not forget to connect a pull-up resistor to data pin. Otherwise, your sensor doesn’t work properly.
- Connect DHT11 VCC and GND pins to breadboard power rails.

- Firstly, clone this repository on your PC.
- Open main directory of repository and then open
/firmware-back. - Now click right through this directory and select the VScode to open the program files.
Note: You should open directory that contains
platformio.inifile in order to PlatformIO can be activated on your VSCode.
- Connect your Wemos D1 to your PC by USB cable.
- At this step you should build the program and then upload it on the Wemos, according below.
To configure or change default values, you should modify the values of config.cpp in /firmware-back/src/default.
If you want to use other models of DHT sensor or set another GPIO for working, you should modify defining values SensorModel and SensorGPIO in the main.cpp.
The user interface of WoT firmware is developed on Preact JS framework. To change UI dashboard, you should develop /firmware-front and then applying modifications by this command npm run build. New html.h file is automatically replaced by previous version.
| HTTP Verb | API | Request Body Value | Description |
|---|---|---|---|
| GET | /api/index | {} | Index |
| POST | /api/restart | {} | Restart device |
| POST | /api/reset | {} | Reset device to default values |
| GET | /api/config/get | {} | Get configuration data |
| POST | /api/config/device/set | { "name": "WoT", "ssid": "WoT AP", "pass":"wot1234567"} | Set device configuration |
| POST | /api/config/device/setStatic | { "name": "WoT", "ssid": "WoT AP", "pass": "wot1234567", "ip": "192.168.1.1", "subnet": "255.255.255.0", "gateway": "192.168.1.1" } | Set captive portal configuration by static address |
| POST | /api/config/sensor/set | { "rate": 5000 } | Set sensor configuration |
| POST | /api/config/broker/set | { "ip": "192.168.1.100", "port": 1883, "topic": "/temperature", "qos": 0 } | Get humidity status |
| GET | /api/network/get | {} | Get captive portal network status |
| POST | /api/network/set | { "ssid": "IDAS-Lab", "pass": "password" } | Set network connection |
| POST | /api/network/setStaticIP | { "ip": "192.168.1.90", "subnet": "255.255.255.0", "gateway": "192.168.1.1", "dns": "8.8.8.8", "ssid": "IDAS-Lab", "pass": "password" } | Set network connection by static address |
| GET | /api/dashboard/get | {} | Get dashboard information |
| Topic | QoS | Message |
|---|---|---|
| /temperature | 0 | { "name": "WoT Device", "timestamp": 9801423, "value": { "temperature": 24.00, "humidity": 16.00 } } |
The architecture of WoT firmware is designed over the WoT-Middleware architecture that is proposed on previous project, WoT-Middleware Platform, however, the firmware architecture is implemented, pretty much different than WoT-Middleware platform, according to its micro programming nature. Therefore, WoT firmware architecture designed and implemented follow the Layered Architecture Style beside Object-Oriented architecture over the Arduino framework.

The firmware architecture is designed in three main layers, including Application, Middleware, and Things layer.
This firmware provides some basic REST APIs and MQTT Topic in order to enable developers to use WoT device functionalities in other applications development.
The middleware layer is responsible for three major tasks as Providing Services, Implementing Functionalities and Connecting to Hardware. So, the three parts of designed middleware are in charge of each one of them. we will describe each part in the following.
-
The publisher part is carried out the Providing Services by implementing both MQTT Publisher and HTTP Web Server.
-
The main functionalities of firmware are implemented in major part of the middleware layer. Live dashboard, WiFi manager, sensor manager, Over-The-Air upgrading and configuration management are the main functionalities which are implemented in this layer.
-
To run and work with sensor module and ESP flash memory, we leverage two basic Arduino libraries as the DHT sesnor library and Little Fail-Safe Filesystem in middleware layer to connect to DHT sensor and flash memory hardware, respectively.
This layer contains our internal and external hardware, consist of DHT11 sensor as a external part and ESP flash memory as an internal one.
The classes functionalities and responsibility are detailed in the following.
-
src/main.cpp: Firstly, it calls begin functions of all sub-systems individually to setup them and then running sub-systems life-cycle in the loop function. The DHT sensor object is initializing with sensor pin and model values by DHTSensor class constructor at the main. -
src/webServer.cpp: This class by leveraging ESPAsyncWebServer library, as a web server, provides some Restful APIs to represent device functionalities on the Web. Users control and monitor WoT device through GUI dashboard or these APIs independently. -
src/publisher.cpp: This class uses AsyncMqttClient library to enable WoT device to publish its data through MQTT protocol. -
src/configManager.cpp: This class fetch default configuration data from Flash memory and then, replaced them by new values on user demands. -
src/WiFiManager.cpp: Network management including captive portal and local network connection are main tasks of this class. -
src/sensor.cpp: Creating sensor object from DHT library, reading data from sensor and storing them in temporary memory are main activities of this class. -
src/dashboard.cpp: This class is responsible for preparing dashboard items and representing them by WebSocket connection into firmware UI. -
src/updater.cpp: WoT firmware has been able to Over-The-Air update functionality by this class.
firmware-back/src/
     default/
          config.cpp
          config.h
          html.h
     configManager.cpp
     configManager.h
     dashboard.cpp
     dashboard.h
     main.cpp
     publisher.cpp
     publisher.h
     sensor.cpp
     sensor.h
     updater.cpp
     updater.h
     webServer.cpp
     webServer.h
     WiFiManager.cpp
     WiFiManager.h
-
This project is build and run over the ESP8266 IoT framework. Please find out this repository to learn more about implementation details.
-
You can flash the
firmware.binfile, it already exist in/firmware-back, into your ESP8266 device by using ESP flasher tools, like NodeMCU Flasher or ESPlorer.